Running an LUA script on ESP8266 with NodeMCU
In our last NodeMCU post, we covered the installation of NodeMCU on our ESP8266 board. Now we can start to load full LUA script files onto the ESP8266. I will show you how you can do this with a quick example.
Needed software
You need a terminal software to communicate via the serial interface of the ESP8266. Here we have to use software that lets us change the transmission speed for each line. The LUA interpreter can sometimes not hold up with the serial transmission speed. So we have to add a little delay between each line.
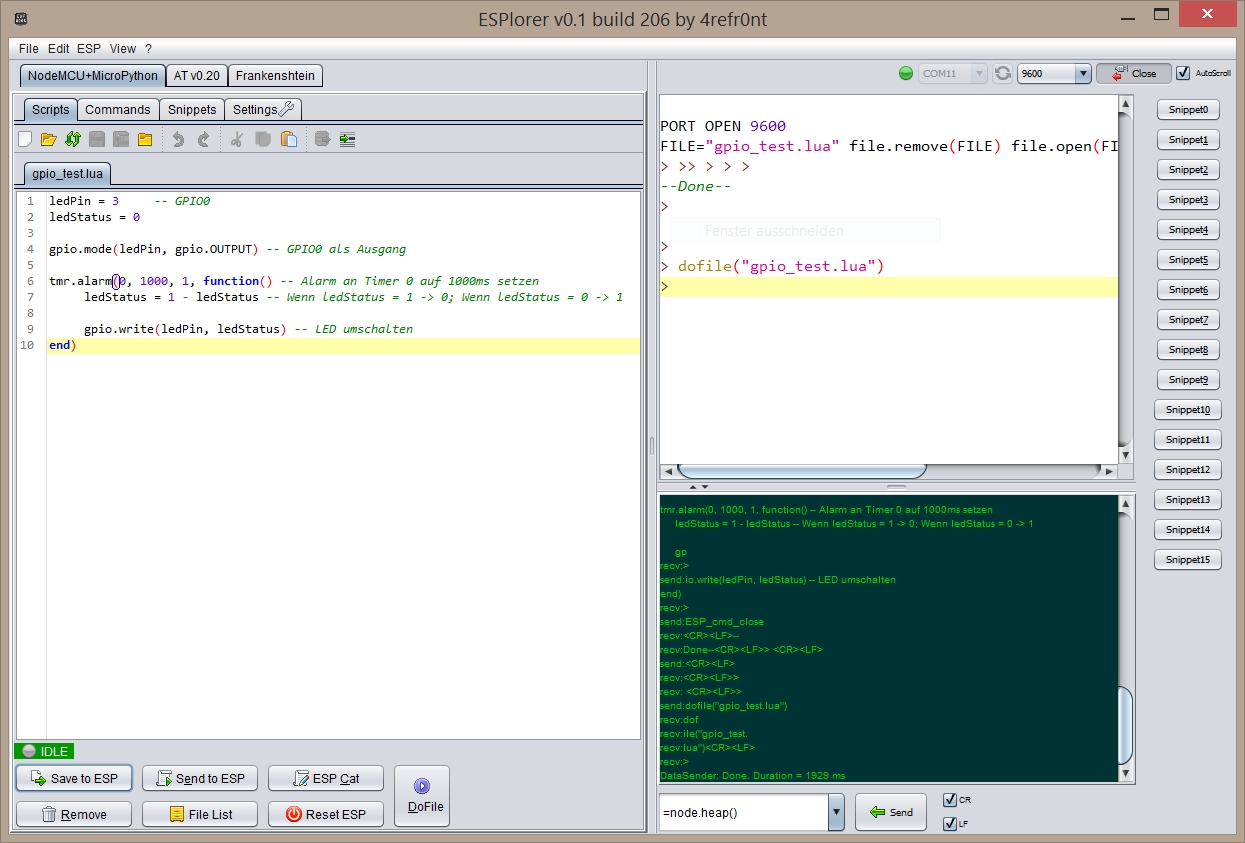
I’m using a software called ESPlorer from 4refr0nt. This tool lets you use the default AT-based firmware on the ESP8266 and has NodeMCU support.
“Hello LED” LUA script
The “Hello world!” on a microcontroller is always a blinking LED. So, we start with this task.
Here we create the following LUA script. The script defines our LED pin and the status of the LED. Then it sets the LED as an output and starts an alarm on Timer 0. Each 1000 ms the timer will toggle the LED status.
So, we have created a blinking LED.
1
2
3
4
5
6
7
8
9
ledPin = 3 -- GPIO0
ledStatus = 0

gpio.mode(ledPin, gpio.OUTPUT) -- GPIO0 as output

tmr.alarm(0, 1000, 1, function() -- Alarm on Timer 0 every 1000ms
    ledStatus = 1 - ledStatus -- If ledStatus = 1 -> 0; If ledStatus = 0 -> 1
    gpio.write(ledPin, ledStatus) -- toggle LED
end)
In the ESPlorer you connect to your board’s serial port first.
Then you can write your code into the “Scripts”-tab and save it to your computer.
The button “Save to ESP” will save the file on the ESP8266 file system.
If you want to start a script at the start of your ESP8266 module, you should save it as init.lua on the file system.