Hydroponic - Top Drip Bucket
This season I will place most of my peppers in soil. But I will keep one plant in a hydroponic system for fun. So, I chose the “top drip bucket” as an easy variant for this plant.
In a “top drip bucket” system, the nutritious solution is kept in a bucket under the plant. The plant is hold in a net pot. The solution is transferred via air bubbles from the bucket to the plant. The remaining solution will then flow back in the bucket. So, we have a simple loop where we only add air for the flow.
My system will sit in a living room, so I will use a normal water pump from Eheim instead.
All air pumps I have are really noisy and not suitable for a living room.
Material
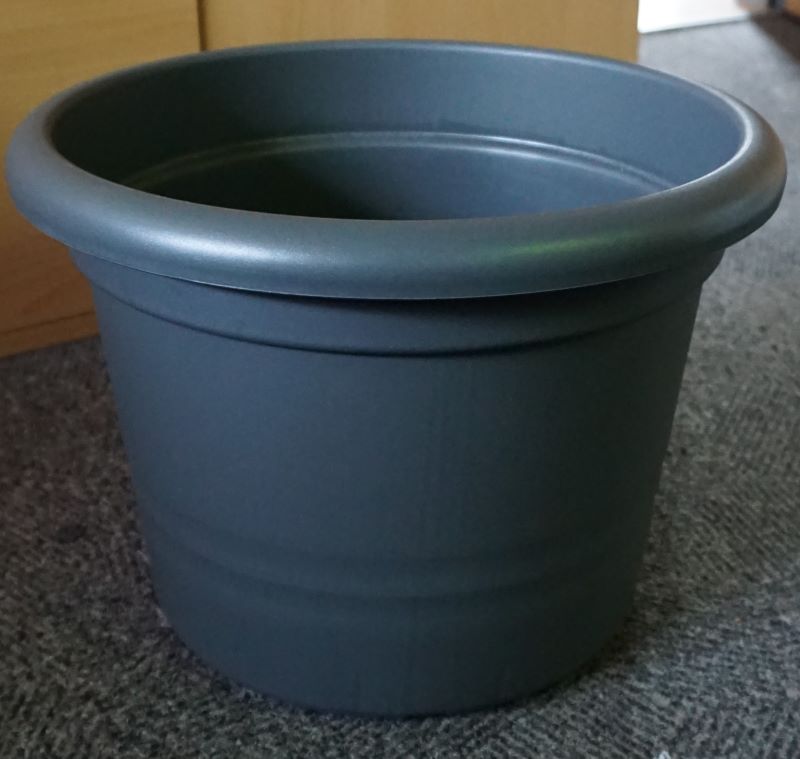
I used a planter from Geli as the main container.
Because the system sits in a living room, it should look nice.
It is a 35 cm diameter planter called Montana in anthracite.
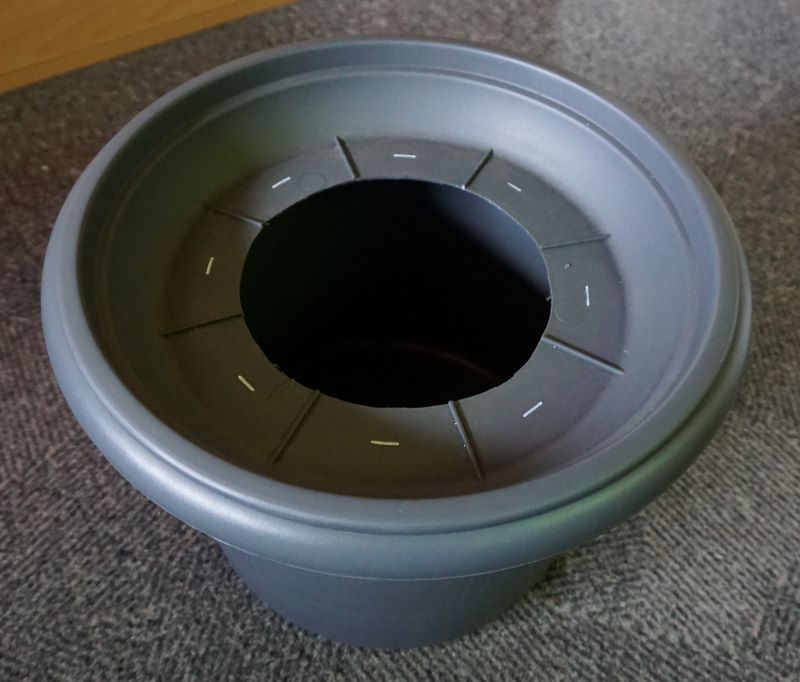
For the lid I used a pot saucer from the same manufacturer with a diameter of 32 cm.
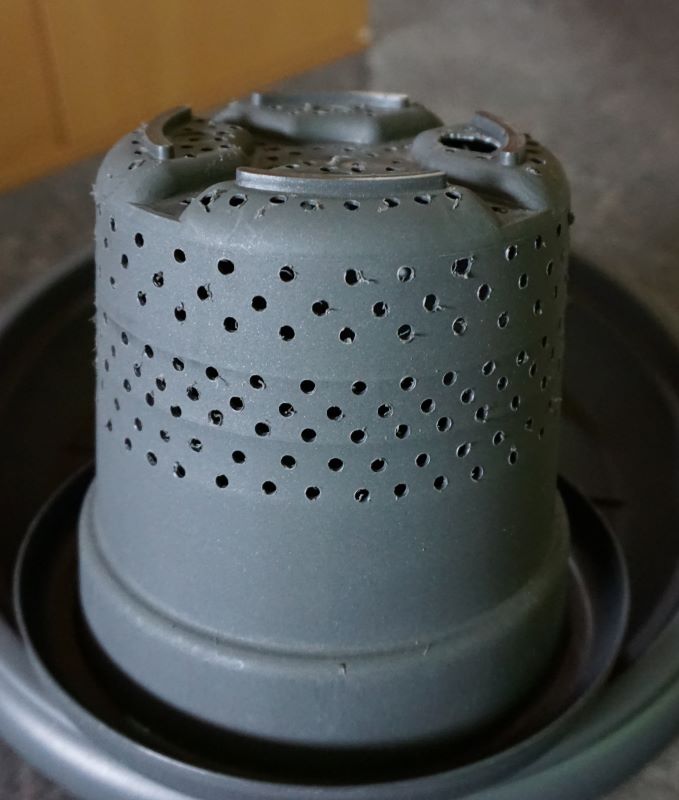
My net pots only had a small edge, which couldn’t handle the plant weight. So, I used a smaller planter with a diameter of 20 cm and drilled a lot of holes in it.
The water pump is one from Eheim with a lift height of 50 cm and 300 l/h.
The pump is controlled with a mechanical timer.
Build
The planter doesn’t have to be modified.
I cut a hole in the pot saucer for the inner planter. The white lines marks where the inner planters edges are.
In the inner planter I drilled a lot of 4 mm holes. So, the water can drip into the outer planter and the roots have enough space to grow.
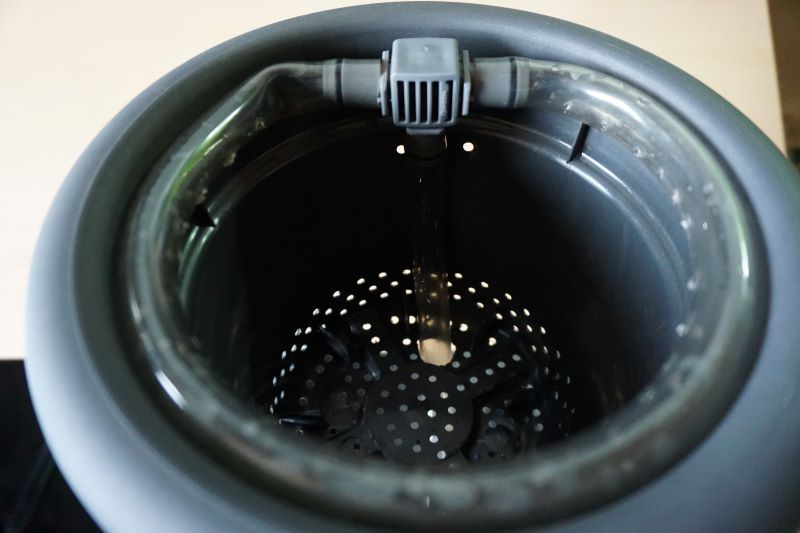
For the drip ring I used some transparent 12/16 mm PVC tube from my aquarium.
The tube fits perfectly on the water pump.
A T-fitting from Gardena helps form the ring.
Every 2 cm a 2 mm hole is drilled into the drip ring. With the highest pump speed the water can drip into the inner planter.

I drilled a hole in the inner planter for the drip ring. Below the T-fitting are also two holes to attach the drip ring firmly with a cable tie.
I used a wire so, I can disassemble everything easier.

For the substrate I’m using expanded clay with a size of 4/8 mm grid. This grid size might be clogging the bottom of the inner planter. Therefor I placed a sponge cloth on the bottom.
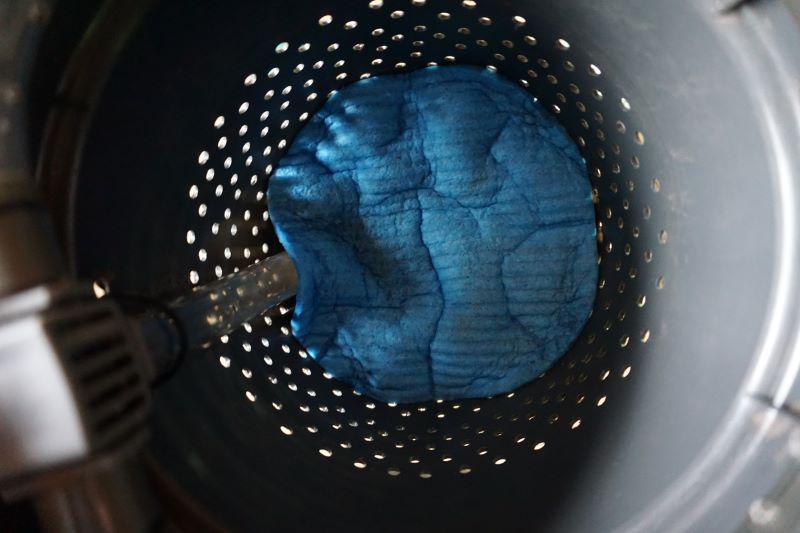
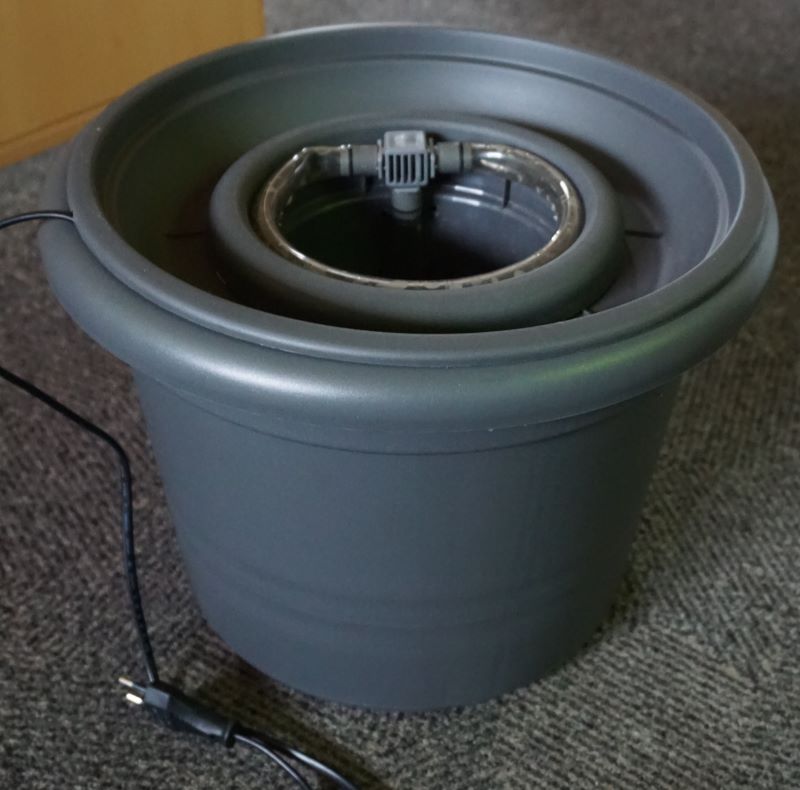
Now the water pump is mounted on the drip ring.

There is a small cut in the saucer pot for the water pump cable.
And this is the full assemble.
Planting
For the test plant I bought a bell pepper plant from Dehner.
The dirt of the plant needs to be removed before planting it into the drip bucket.

Now the plant is placed into the inner planter and filled with expanded clay.
I filled the drip bucket to the brim because it looks nicer.
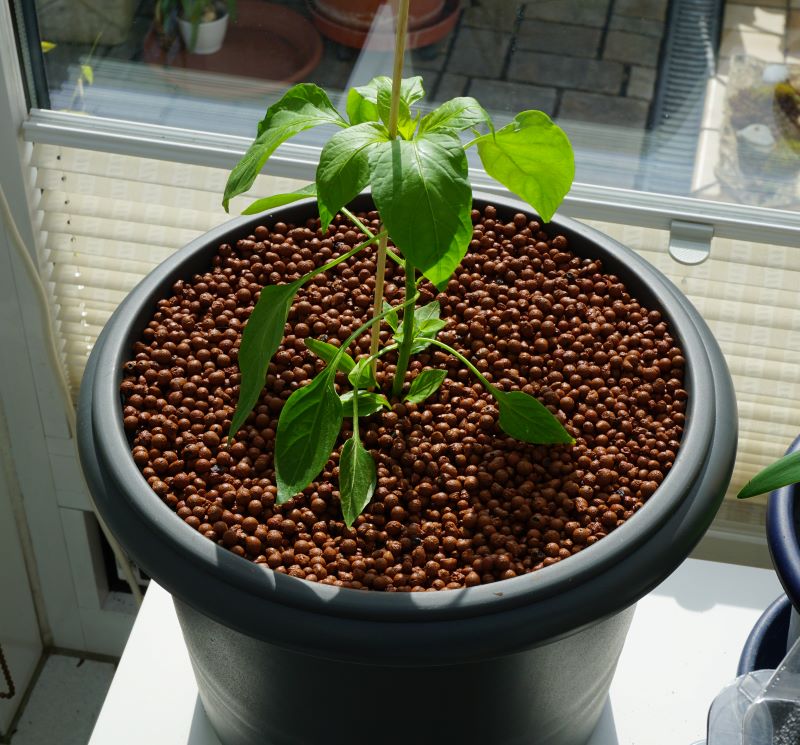
Now we have to wait if the plant survived the transplantation into the inner planter.
Nutrient solution
For the nutrient solution I’m using Aqua Vega component A and B from Canna.
Aqua Vega is a nutrient solution that is used in hydroponic systems.
In the drip bucket are now 3 l nutrient solutions. A timer runs the water pump every 3 hours for 15 minutes. If needed the timing can be adjusted.