Building an ebb and flood hydroponics system
Before I describe my ebb and flood system, here is a review of what I tried in the past. I tried the micro drip hydroponics system last week. It works fine for my neglected pepper plants, they got healthy new roots. It is a little difficult to build. You have to get all the little hoses to each pot. This works fine for five pots but will be harder when you increase the number of plants. Additionally, you get the noise of dripping water every time, the pump starts. This is a little inconvenient when you have the system in the living room.
Also, I tried a bubble bucket. This is a DWC (deep water culture) hydroponic system. Here the pots are submerged a centimeter into the water. An air pump then pumps air into two air stones with 400 l/h. This lets oxygen to the roots and all the bubbles let the water sprinkle on the whole pot. The air pump is really quiet, I was prepared for worse. But the real noise comes from the air stone. So, this is also not a quiet solution for a living room.
The ebb and flood system
How does an ebb and flood system work?
You have the flood tray filled with non-organic soil on the top. This is where all your plants are planted in. The flood tray is connected to a pump, which pumps the nutrient solution into the flood tray. Then you have an overflow, which prevents the flood tray from overflowing. Now you can start the pump with a timer to fill the flood tray. When your tray is full and the water starts flowing in the overflow, you can switch the pump off. Now all the water in the flood tray will start flowing into the nutrient solution tank through the pump. If you dig into your soil, you will found that it is really wet. Which soil you use will determine how long it takes to dry out.
Building an ebb and flood system
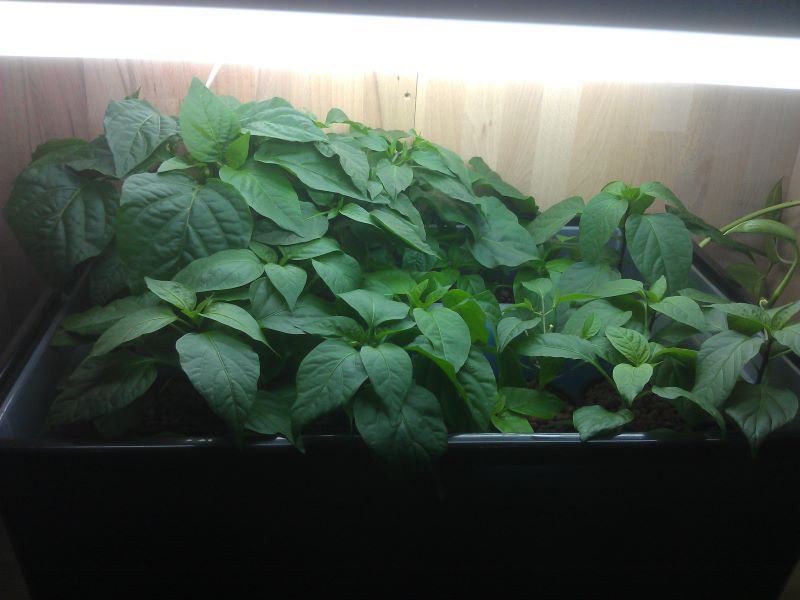
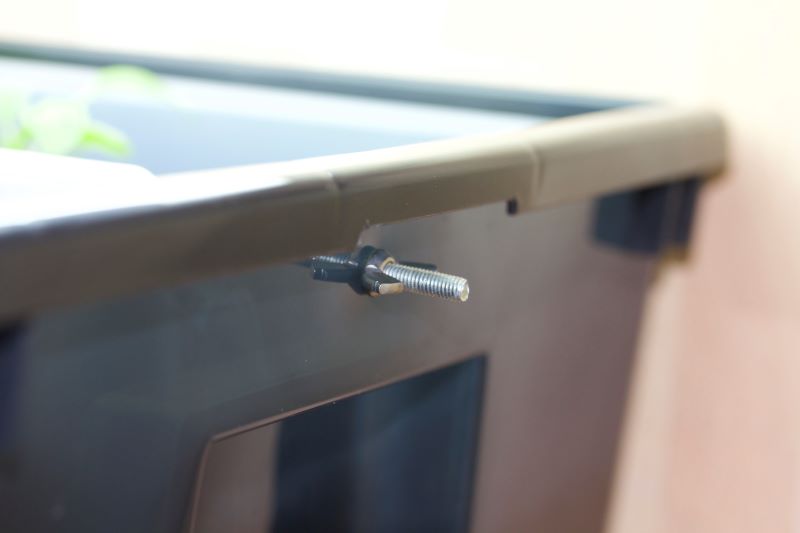
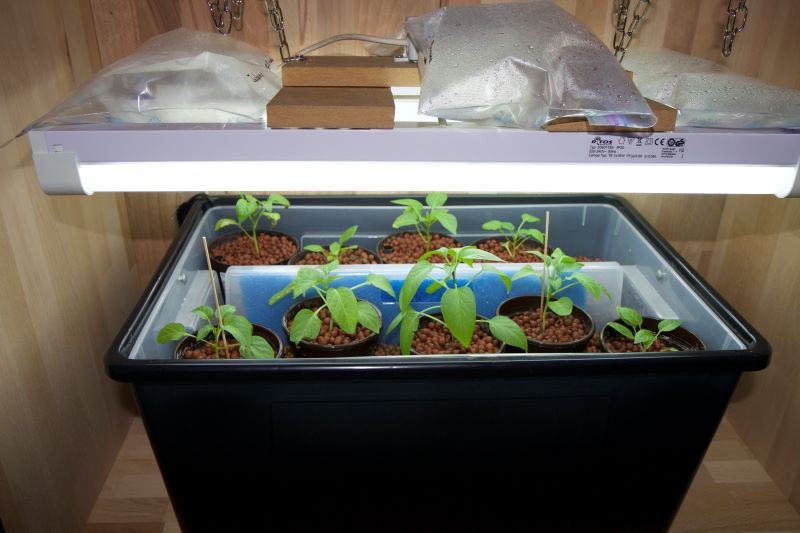
So let’s build an ebb and flood system. I build one with a storage box from a Swedish furniture shop, which we have in our city. They have a nice insert for this storage box, which I use as the flood tray. The storage box itself is the nutrient solution tank. Because the flood tray can get really heavy, I fixed the tray to the box with an M5 screw and wing nuts on two sides. This should prevent the flood tray from falling into the box.
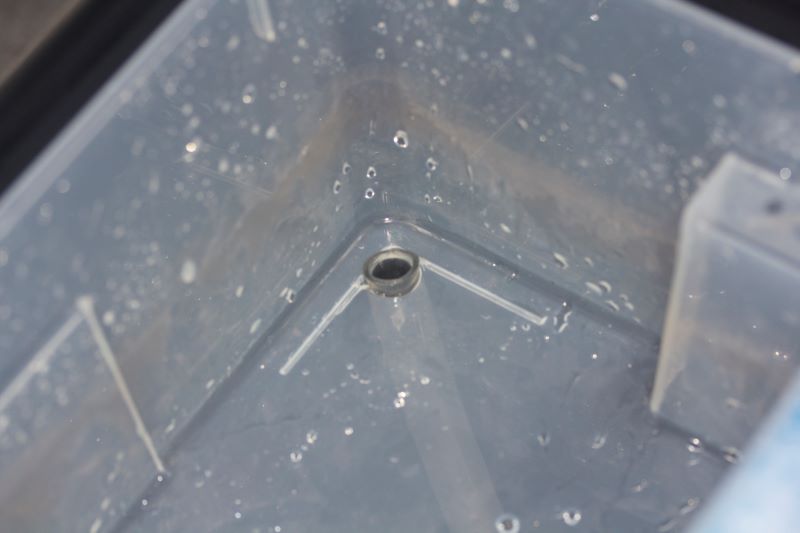
In one corner of the insert, I drilled a hole for the tube coming from the pump. The tube should be flush with the bottom so all the nutrient solution can flow back into the reservoir. In my box, it can rise to 4 cm.
On the opposite corner, I drilled a hole for the overflow. Here you have to stick the tube as high as you wish the nutrient solution rise in the flood tray. There is a net on top of the tube to prevent the expanded clay to clog the overflow.
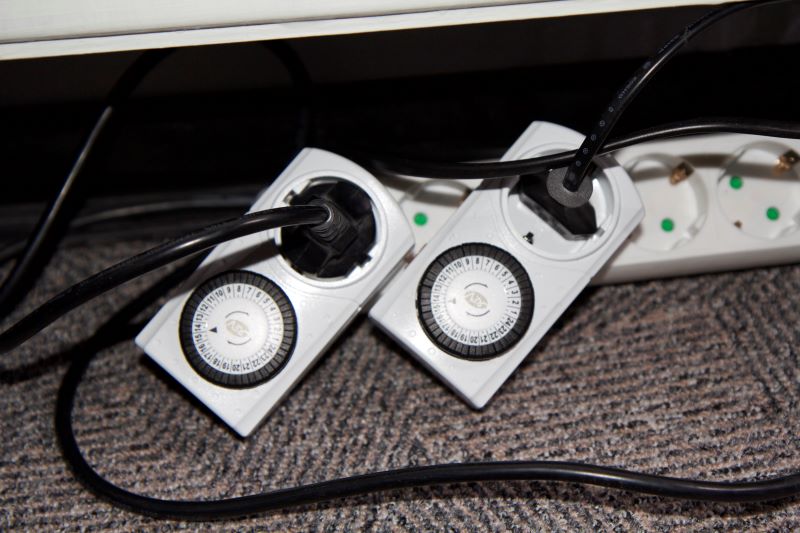
At last, you need a switch timer to start the pump. I let the pump running three times a day. Each run is 30 minutes long. You have to play a little with the time, to get it fine-tuned on your system.
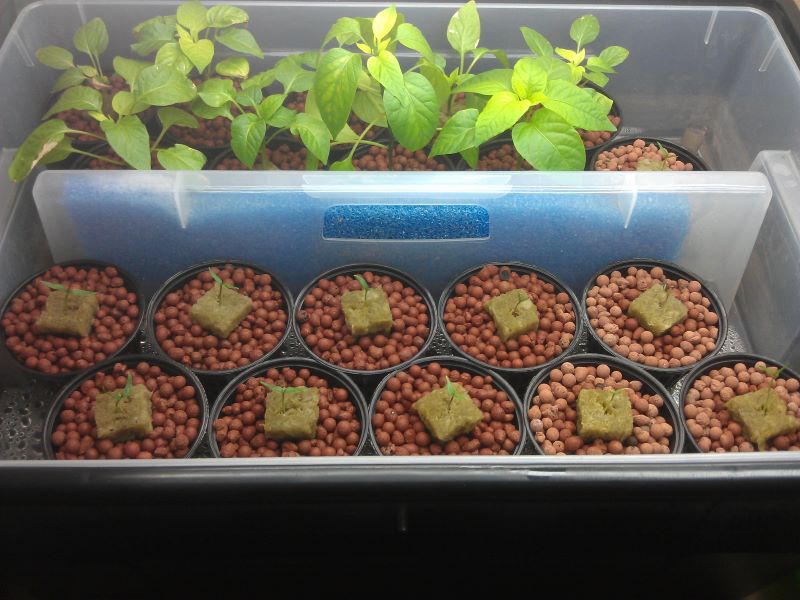
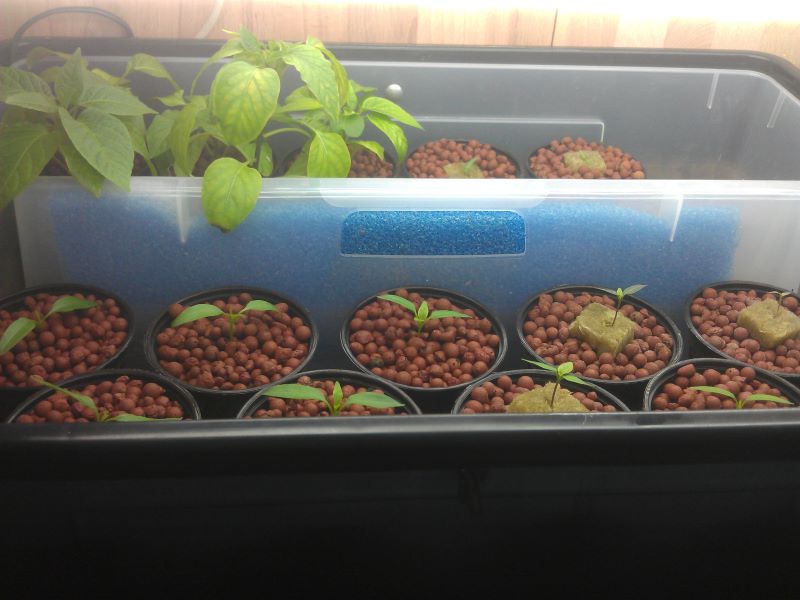
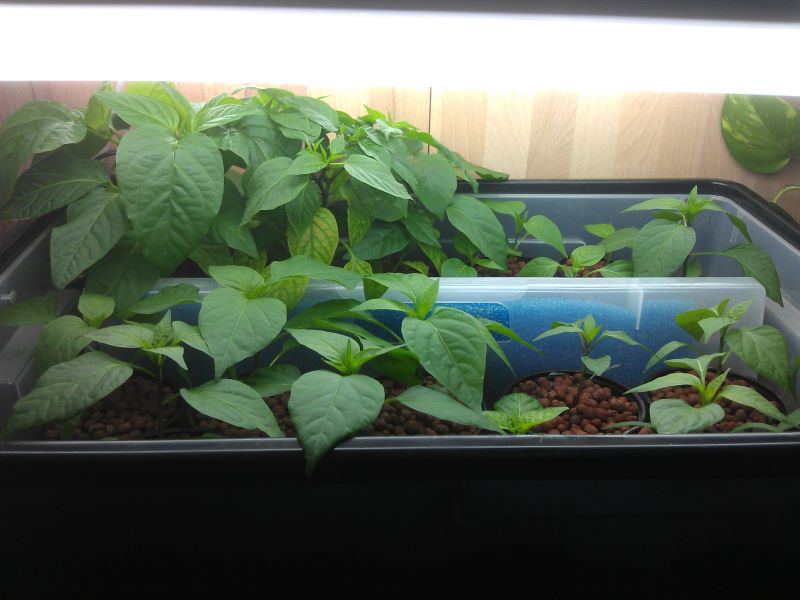
Here are some pictures from the details of the box:


Chili peppers
These are the chili peppers I tried:
1
2
3
4
5
6
7
8
9
10
11
Capsicum chinense

- Scotch bonnet yellow
- Habanero choclate

Capsicum annum

- Jalapeño
- Large Red Cherry
- Filius blue
- Sweet Banana
Some of the seeds are packed into a zip-bag and put into the grow-box. On the light fixture they have it nice and warm.
Update: 2013-01-22
Update: 2013-01-26

Update: 2013-01-29
Update: 2013-02-08

Update: 2013-02-12
Update: 2013-02-21