A new "toy" on the workbench, the GRR Neo
Two days ago it finally happened. After months of research, I finally ordered my first 3D printer. It is a GRR Neo (German RepRap).
The GRR Neo is a fully assembled 3D printer.
I want the printer as an additional tool in my toolbox and don’t want to tinker on the printer itself.
So, in the end, I had to choose between two printers.
One was the Ultimaker 2 and the other one was the GRR Neo.
The price of the GRR Neo sold me then also I had to lower my expectations on the features.
The GRR Neo was available at Reichelt, so I ordered there.
Setup of the GRR Neo
Today the printer arrived nicely packaged. When you mount the filament spool holder on the back his size is 34 cm x 34 cm x 40 cm (width x height x length). So, he fits on my cupboard beside my desk.

For the setup, you only have to mount the correct connector type on the provided power supply. Then you have to attach the filament spool holder to the back. And that is all for the assembly. Now you can push the filament through the Bowden tube to the hot end.
Print bed calibration on the GRR Neo
Before you start the first print, you have to calibrate the print bed. For the calibration there are three, spring countered screws on the bottom of the print bed mount. With the help of the software, you move the print head to each corner and set the distance between the print bed and the nozzle by shoving a piece of paper between both parts. The result may vary with the used paper. On my first test print, the distance seems too low. The first layers were not spotless.
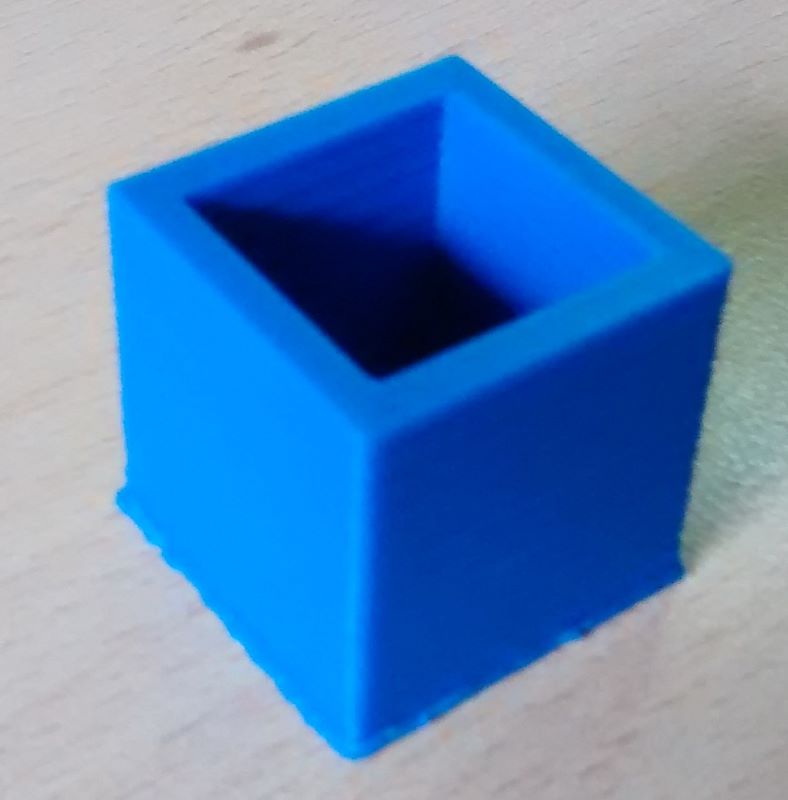
You can clearly see the bottom has an elephant’s foot.
But a few layers later the quality is excellent.
I can compare the print quality with a Stratasys Dimension Elite which we use at work for prototypes and small-batch productions.
The difference in quality isn’t big, but it is there.
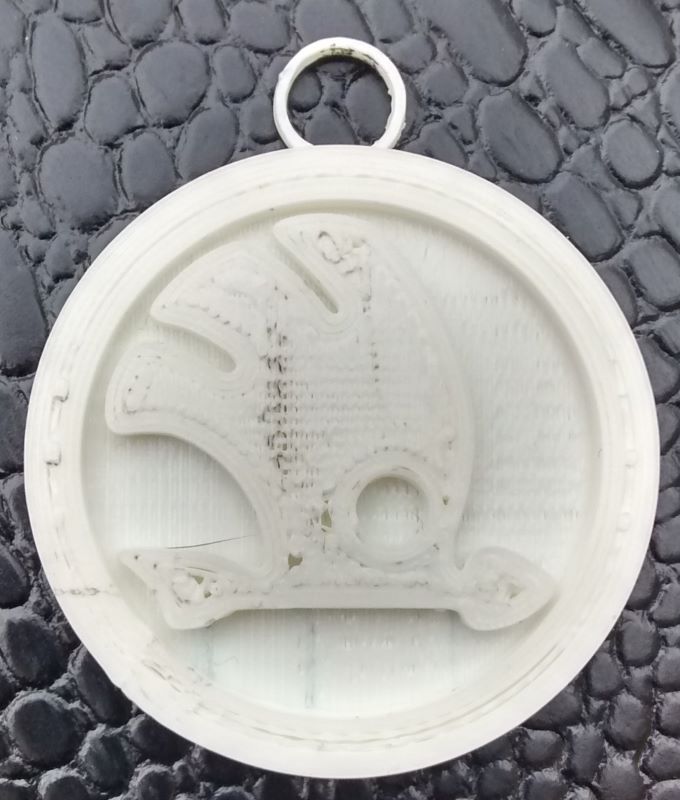
Some more prints
As the second print, I printed a Škoda logo keychain for my brother. Because only printing little cubes isn’t really fun. For the second print, this came out nice.
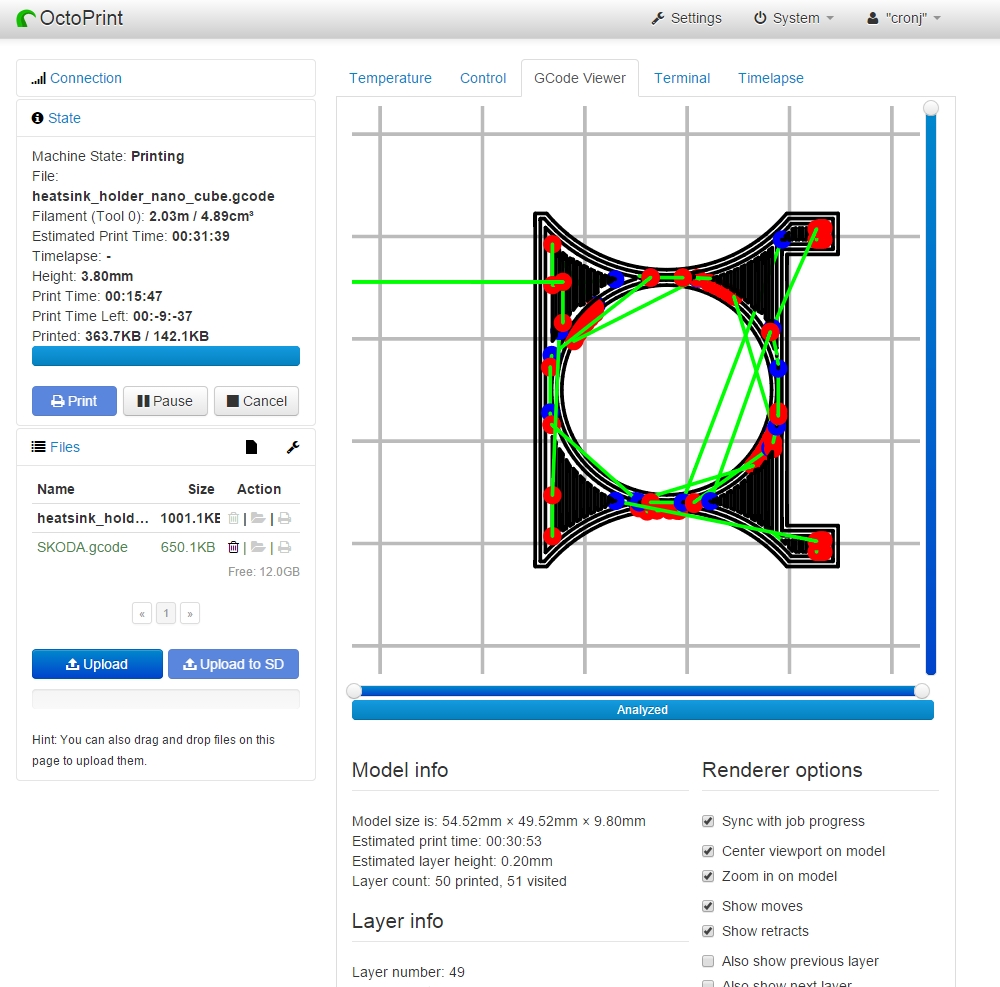
The first print was with a USB connection to my computer. For the second print, I had a Raspberry Pi 2 with an installation of OctoPrint running, plugged into the printer. With OctoPrint you can access the printer via a network connection. So, you can upload your files via a browser interface and start the print. Also, you can monitor the current print. Here you can use the Raspberry Pi camera module to monitor the current print. This is useful if your printer doesn’t sit in your current room. With the camera module, you can create a time-lapse during the print.
Here I tried a part with a support structure. That didn’t work so well. The support wasn’t removable from the print.
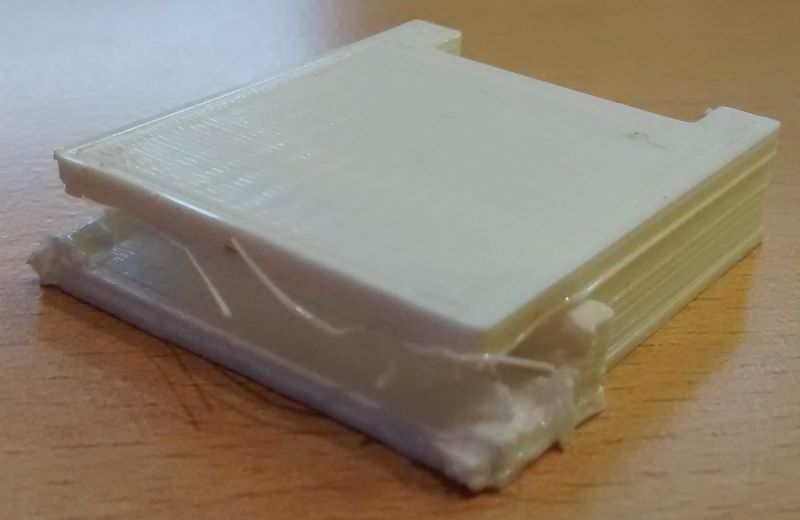
Here I have to tune my settings so that the support can easily be removed. So, now I have to practice getting the best out of my new tool.